
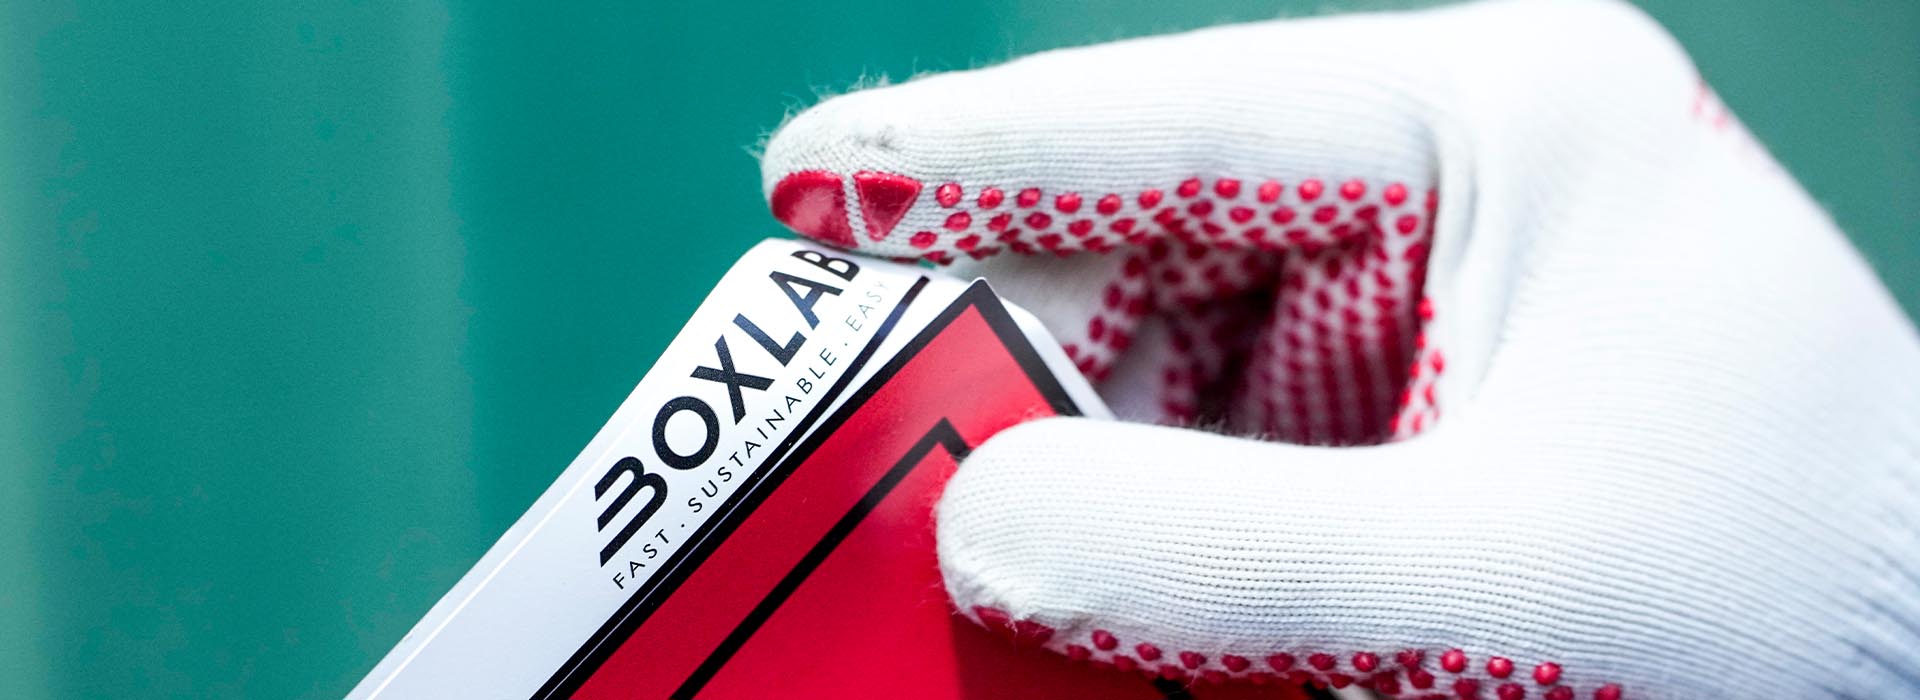
SYSTEM SOLUTION PLACARDS
Our Placards system solution consists of a total of four components. In addition to our proven BOXLAB Placards with clever peel-off tab, these also include our BOXLAB BIO cleaner, a squeegee and the practical and hazard-free plastic scraper for the foolproof removal of old Placards..

Correct attachment and removal of placards

Clean surface

3 sprays
top, left, right
Spray the cleaner onto the surface 3x from a distance of approx. 20cm. Make sure that the spraying intervals correspond approximately to the size of the placard.

From top to
wipe down
Using a clean paper or cotton cloth, wipe the cleaner in vertical strips from top to bottom. This will create a cleaned area, which should be about 40x40cm.

Wipe dry or
Allow to evaporate
Normally, the rest of the cleaner will now evaporate within 1-2 minutes. Depending on the weather and how much cleaner you apply, this may take longer. You can also wipe up the rest of the cleaner.
Attach placard
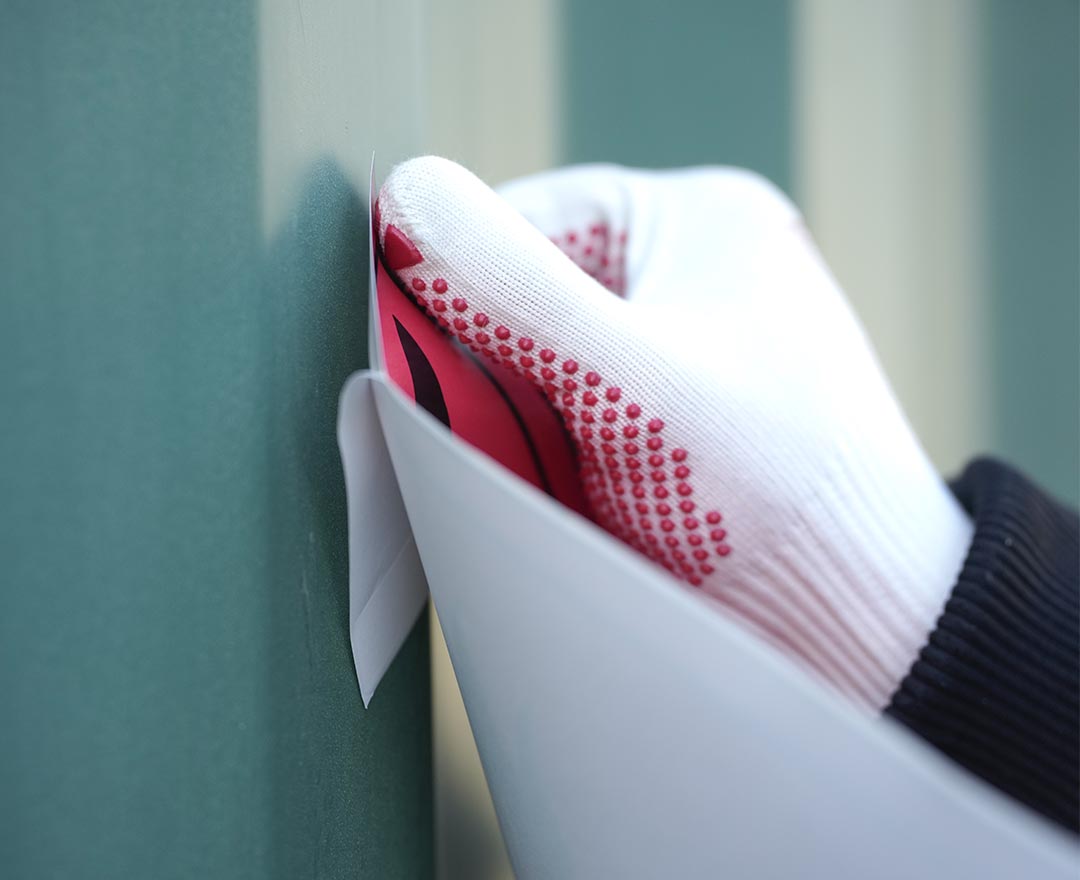
Attach upper corner
of the placard
Fold the detached backing paper back and apply the placard to the upper corner by hand. Be sure to align the placard vertically and apply sufficient pressure. The upper corner should be attached to a protruding bead.

Press down
vertically from top
Grasp the folded flap and start to apply the placard with the squeegee from top to bottom at the corner already attached. Hold the squeegee at as steep an angle as possible. At the same time, slowly pull the backing paper down on the reverse side.

Press down
lower corner
Loosen the backing paper from the placard shortly before reaching the bottom corner and pull the squeegee over the bottom corner of the placard with increased pressure. After removing the backing paper, repeat the process one or two times over the entire height of the placard.

Attach Placard
on the slope
Now carefully grasp one corner of the placard with your hand. Carefully stretch the placard to the left or right. Now use the squeegee to first apply the placard to the slanted surface.

Press placard into edge
and fix corner
When applying especially to inside edges, be careful not to allow air bubbles to form. Slow application helps here. It also helps to lift the still loose corner slightly to increase the pressure in the edge. To attach the corner, you can hold it closer to the container again.
Check for loose spots and
Check for air bubbles
Repeat the last step for the other side. Pull off the entire surface once again with the squeegee. Look out for water, air bubbles and protruding edges. You can remove these with the squeegee.

Remove old placards

Remove old blade
of the security scraper
The plastic blades of our hazard-free plastic scraper are very durable. If a blade does need to be replaced, simply push it out of the holder with your thumb from top to bottom.

Insert new blade
into the scraper
Once you have used the blade, you can turn it 180 degrees and use it again. Insert the new plastic blade into the plastic scraper from the bottom up and press the blade into the holder of the scraper.

Check the blade
of the scraper
Briefly test whether the blade is inserted correctly. You can simply grasp the blade with two fingers and try to move it. If the blade is firmly seated, the scraper is ready for use on the placard.

Attach
the scraper
Place the scraper at a flat angle on the bottom corner of the placard. Use the ergonomic shape of the scraper and position your thumb in the area provided for this purpose.
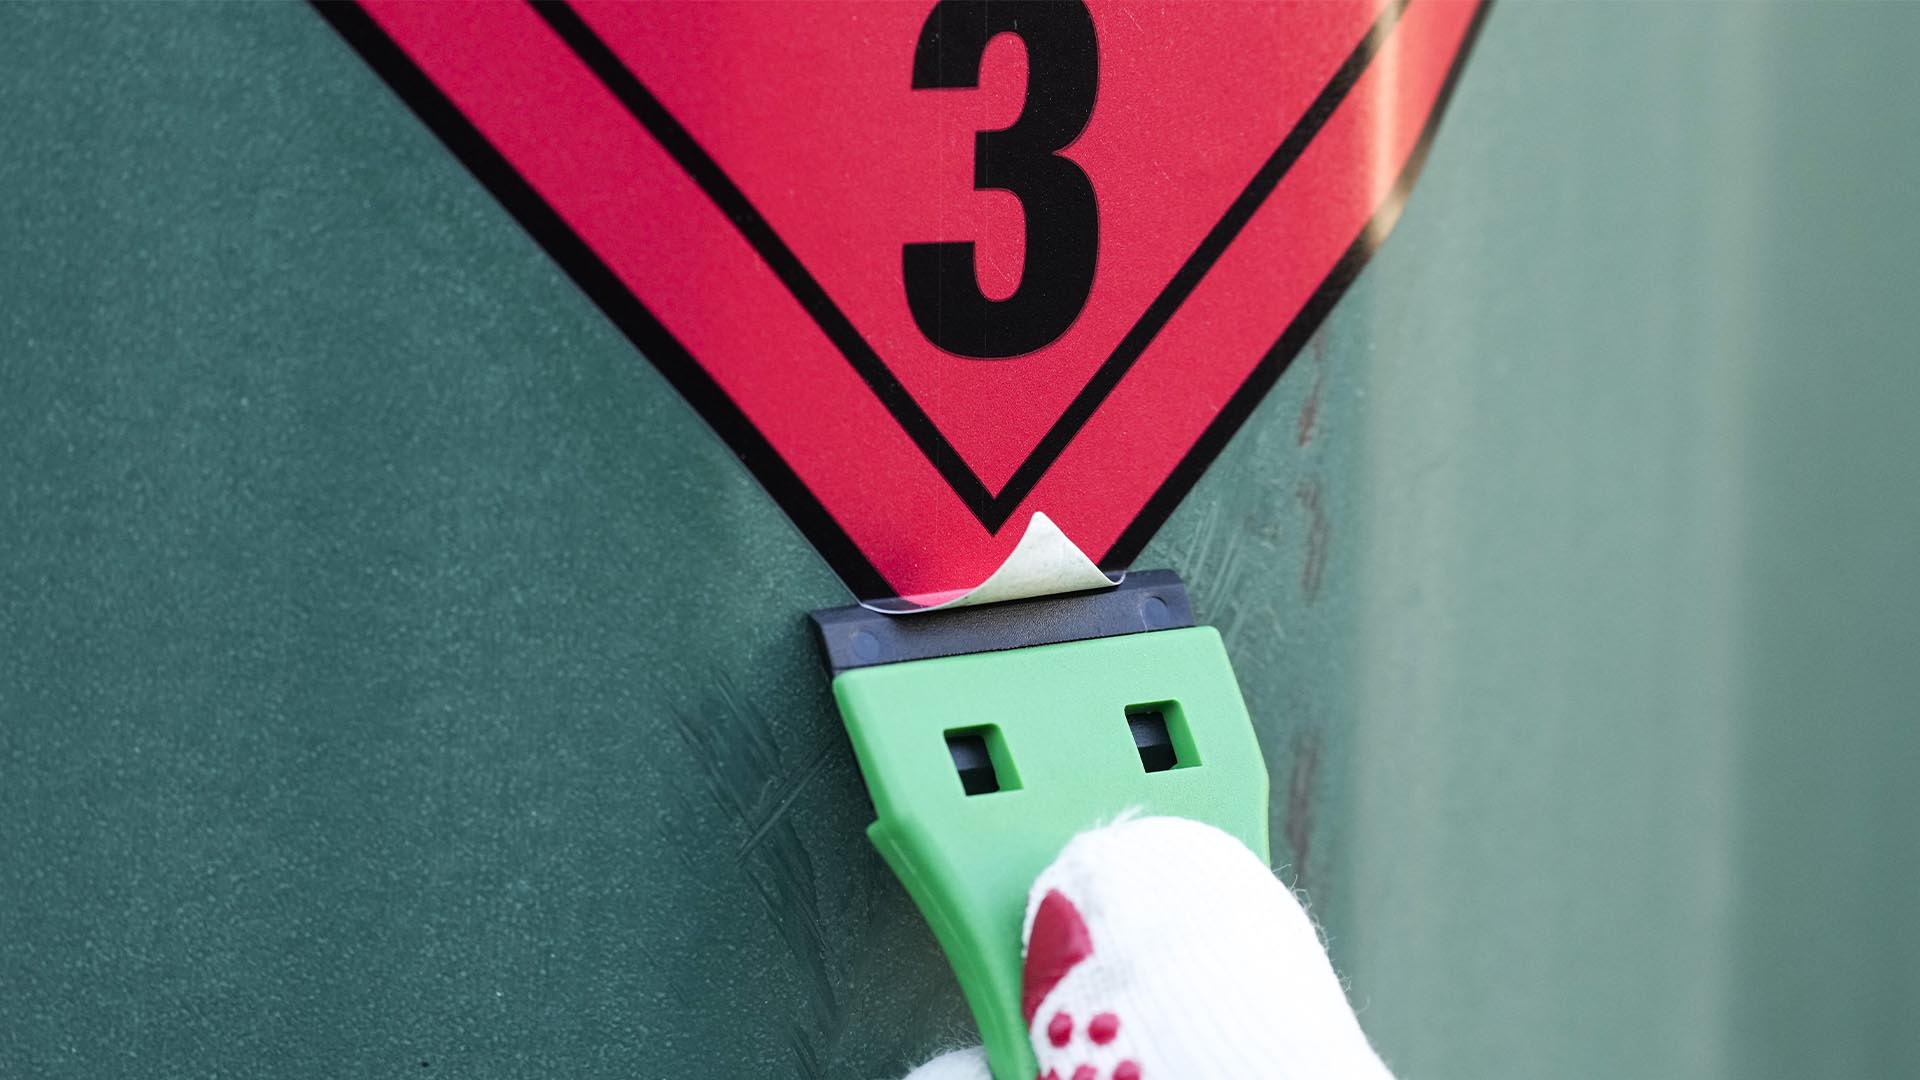
Create surface
to remove placard
Now press the scraper with a little pressure under the edge of the placard to create an attack surface of about 2-3cm height that you can grip. Depending on the age of the placard, the required pressure can be stronger or weaker.

Peel off of the
placard by hand
Now grasp the exposed lower corner of the placard and carefully pull it vertically upwards off the surface. Try to remove the placard in one piece if possible.

Pull placard vertically
from container
Make sure to stand frontally in front of the placard and detach the placard from the container at an angle between 45 and 90 degrees.

Increase
the force
If it is necessary to use more force in the area of the center of the placard to release the placard, reduce the angle at which you release the placard. You can also use two hands.

Peel off the Placard
in stripes
If the adhesive has hardened too much or the placard cannot be removed in one piece, pull off the placard in strips. After each strip, create an attack surface again with the plastic scraper.

The BOXLAB Starter Kits


We are always there for them personally.
Contact us now and learn more about BOXLAB Services.
We look forward to your inquiry, or a quick chat. Or feel free to use our contact form. Our team will be happy to answer your request and will get back to you in a timely manner.
